Showing posts with label tutorial. Show all posts

Monday, November 18, 2013

Simple DIY skirt bustling

I'd been meaning to try out this idea on Crystaline's Steampunk blog (Japanese language) for a long time, and was prompted anew by Sheila's traveling yellow skirt bustle job. This is a quick and easy DIY for making a long skirt into a bustle skirt.
photo credit: Crystaline
   Long tiered skirts like this are plentiful in thrift shops around here. They aren't my style because I like asymmetry and butt-hugginess, and ideally both in one, but I did have one I fell in love with for its color, ribbons, and lace:
  I used clothespins to pick up where I wanted the skirt to bustle up, so I could step back and check the overall look. I wanted it to be slightly asymmetrical without looking like a sloppy mess.
 I added a little side hitching to keep the skirt out of the way and to make the back a slight train.  Then take needle and thread, and go to town! PROTIP: make sure not to sew your skirt to your mannequin.
  It keeps the skirt out of the way if you're going up stairs, too. Next I think I'm going to either bustle it in back or get a small hoop skirt to go underneath, because it hangs rather limply in back.

  In addition to sewing on top like this, you can also pull a fold of the skirt under itself and sew it to the inside, like so:
  I think you can try this on any long skirt with fabric that crinkles (jersey fabric would have a more folded/drapey look) and wherever you choose to pin your fabric up will make yours unique. Have fun and let me know if you try this!

Friday, October 25, 2013

Cranky Nopants

  Hey guys! I missed blogging. :D  I also missed the sun. Here's a picture I took Thursday to celebrate the first time it came out in over a week.
Sweatshirt dress: Mossimo (thrifted)
Vest: Forever 21 (thrifted)
Tights: UNIQLO (gift from Mom)
Over-the-knee boots: unknown (clothing swap)
Hat: eBay (similar)

  This whole 'personal style' thing is still pretty new to me. The outfits I posted this past warm season are partly because I have 1 pair of ratty denim shorts, and since I didn't think that would do for a style blog, I experimented with putting together other fun things.

  Cold weather's different. I hate the cold. I hate this sudden seasonal change. I hate wind and damp and numb feet and blue fingertips. Hate is a strong word, but it takes me months to shake off a dull, stuffy vaguely anxious feeling when the sun doesn't show up for weeks at a time. Happens every year, and my priorities this season, as with many Asian women, shift from "what fun to wear today?" to "protect myself from the elements, nevermind how ridiculous I look."

  This year I am going to try to shake myself out of it by risking a stupendous gas bill and trying to heat this place. There is no weatherproofing in our apartment (the balcony door doesn't even close all the way,) it's very damp, and the thermostat doesn't register, and you have to manually switch it on every 15 minutes if you want heat, but I can't take being cold indoors and outdoors all of the time. It does not snow, and it very rarely drops below freezing in the Bay Area, but this means that shopkeepers and restaurants also don't see fit to heat anything, and people leave the doors to the tiny cafe and retail spaces OPEN all the time, so you never get away from the winter weather. It means the only times I am warm are when I am driving my car and when I'm taking a shower. It drives me insane.

  I've heard older Chinese people say that white people are more resistant to the cold than Asians are. The whole special sweat gene means this might be more true than I thought. Either way, that is my rant. I will do my best to add more visual interest to my outfits, because otherwise you all are going to get an endless procession of dark neutral sweat/er/shirt dresses, long pants, and peacoats.

  Today I tried adding a long vest to this teal sweatshirt dress. I wasn't sure how the proportions would work out, but it was warm. I see now in the photo it looks like I forgot to don pants, which still puts me one up on my leggings-only-clad classmates, who, thank god, are now being forced to actually wear some. Gosh, I'm really cranky. I just realized this. This is therapeutic. :D

  Since I've been running out the door without taking outfit photos and coming back after dark, here are some photos of what I have been up to:

I made some new fabric-covered buttons for my thrifted Sanctuary hoodie! I am wearing it with some thrifted bling jeans here.
  I love this thing. It's so soft, has gorgeous piping on the inside, has interesting lines, good construction, and came to me in like-new condition! It was just missing one button on the left pocket, which you can see above.
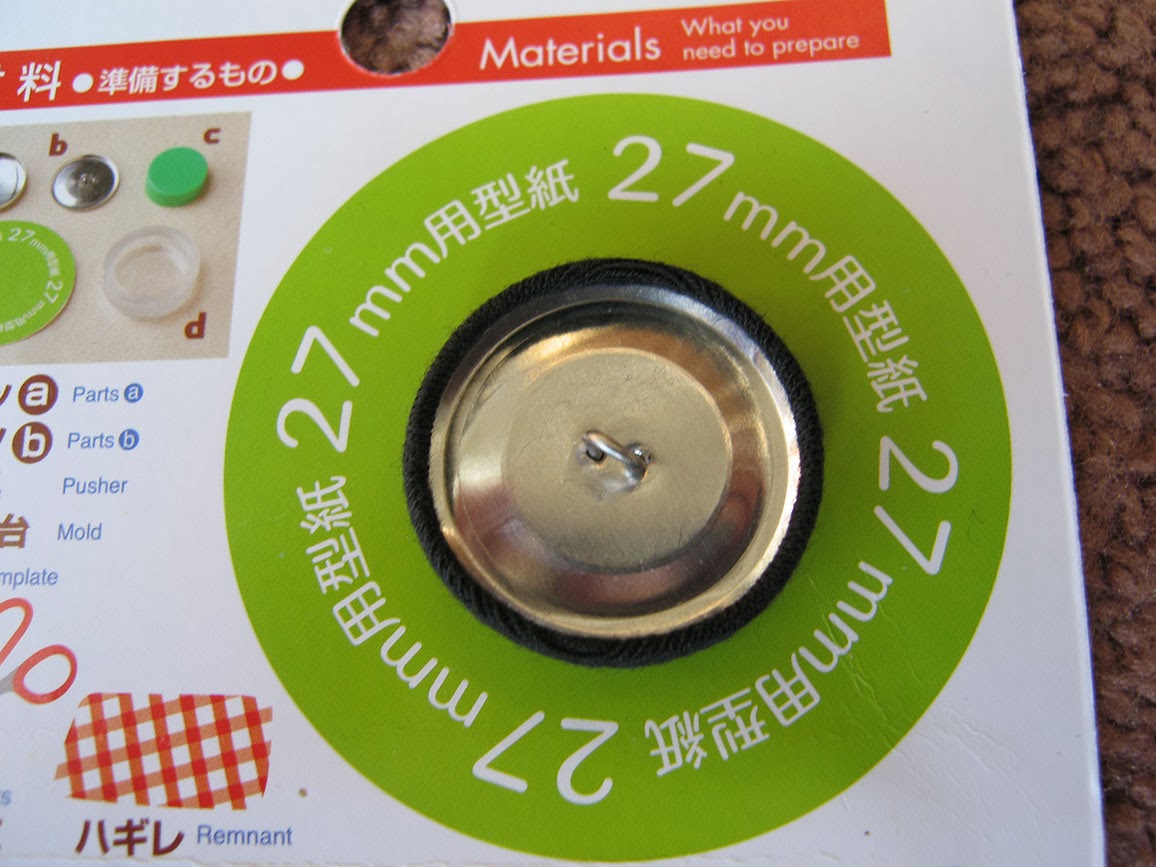
  I picked up a fabric button kit at my local DAISO, a Japanese dollar (and a half) store. I took a piece of jersey fabric and placed it around the metal button head, and put it in the clear plastic holder. You can't use too many layers of cloth, but if you want added fullness/softness on the head of the button, you can cut a round piece of fabric and place it between the button head and the cloth you're wrapping around it, which is what I did.
  I photographed the instructions on the back of the package. (: You trim the cloth, fold it in around the button head, place a button backing on top, push down on the round green plastic presser, and you have a new button!
   The buttons on my hoodie were between sizes of the kits available, so I made two buttons and replaced the remaining one, as well:
  Pretty good match, I think!  What are some DIY repairs you have done?

Sunday, July 7, 2013

Shirt or Collar Clips Tutorial

  Hey everyone! Some of you expressed interest in how I made the shirt clips, pictured holding the front of my jacket in this post, so I put together some photos. Click on any picture to get a close-up.
  This was an idea of mine ever since I used a small orange binder clip to hold together an open-faced shirt in one of my first blog posts. I poked around online to see if such a thing existed, and found this photo of collar clips:
  This is essentially what I wanted to make, I just wanted to use them on shirt halves. You can of course use them for whatever you like. (:  Here are the materials I used:
round nosed pliers, two headpins, thrifted clip-on earrings, length of chain
  You can use flat pliers instead. For the connecting pieces you can use wire, or even jump rings instead of head pins if they are large enough. (You can also make your own headpins with wire and round-nosed pliers.)
  Use a type of chain that has links or round rings at each end so you can thread the jump rings/head pins through them to hold them in place. Pick the length of chain you want for holding two ends of a piece of clothing together, and cut the chain if necessary.

   Look at where the hinge is on the earrings. You want a hole where the hinge articulates, and you want that hole not to close up when the earrings open and shut. This is where the headpin to hold the chain will thread through. If there is no hole, you can also wrap the wire around the bottom of the clip part that curves toward the hinge.

  Insert the headpin through the hinge opening, thread it through the chain, and wrap the wire around itself to hold it in place.

  You are done! Enjoy your new clips on whatever you'd like.

Please let me know in comments if you have any questions or if anything is unclear.

  Two notes: 1) Because clip-ons are meant to clasp earlobes, they don't grip very hard, so you can't use them to hold say, a skirt of heavy material up. Sudden expansive movement like stretching (to which I am given) may cause one of the ends to slip off the cloth. You can reduce this some by adding clip-on pads. These will add friction and narrow the clip opening.

  2) Experiment with other materials! For example, instead of plain chain, you can try other things. I have this broken bit of bracelet or necklace I found on the street years ago. I think it will make a snazzy chain between a set of clips, once I find some suitable clip-on earrings.

Edited to add: There is such a thing as this! Gracey at Fashion for Giants posted about vintage sweater clips. She went in the reverse direction- she took something to hold clothes edges together and put them on her collar. :D